☰
Chouhanrecords
Home
Videos
About
Contact
Menu
Home
Shorts
Videos
About
Contact
Now Streaming
ghghg
Now Streaming
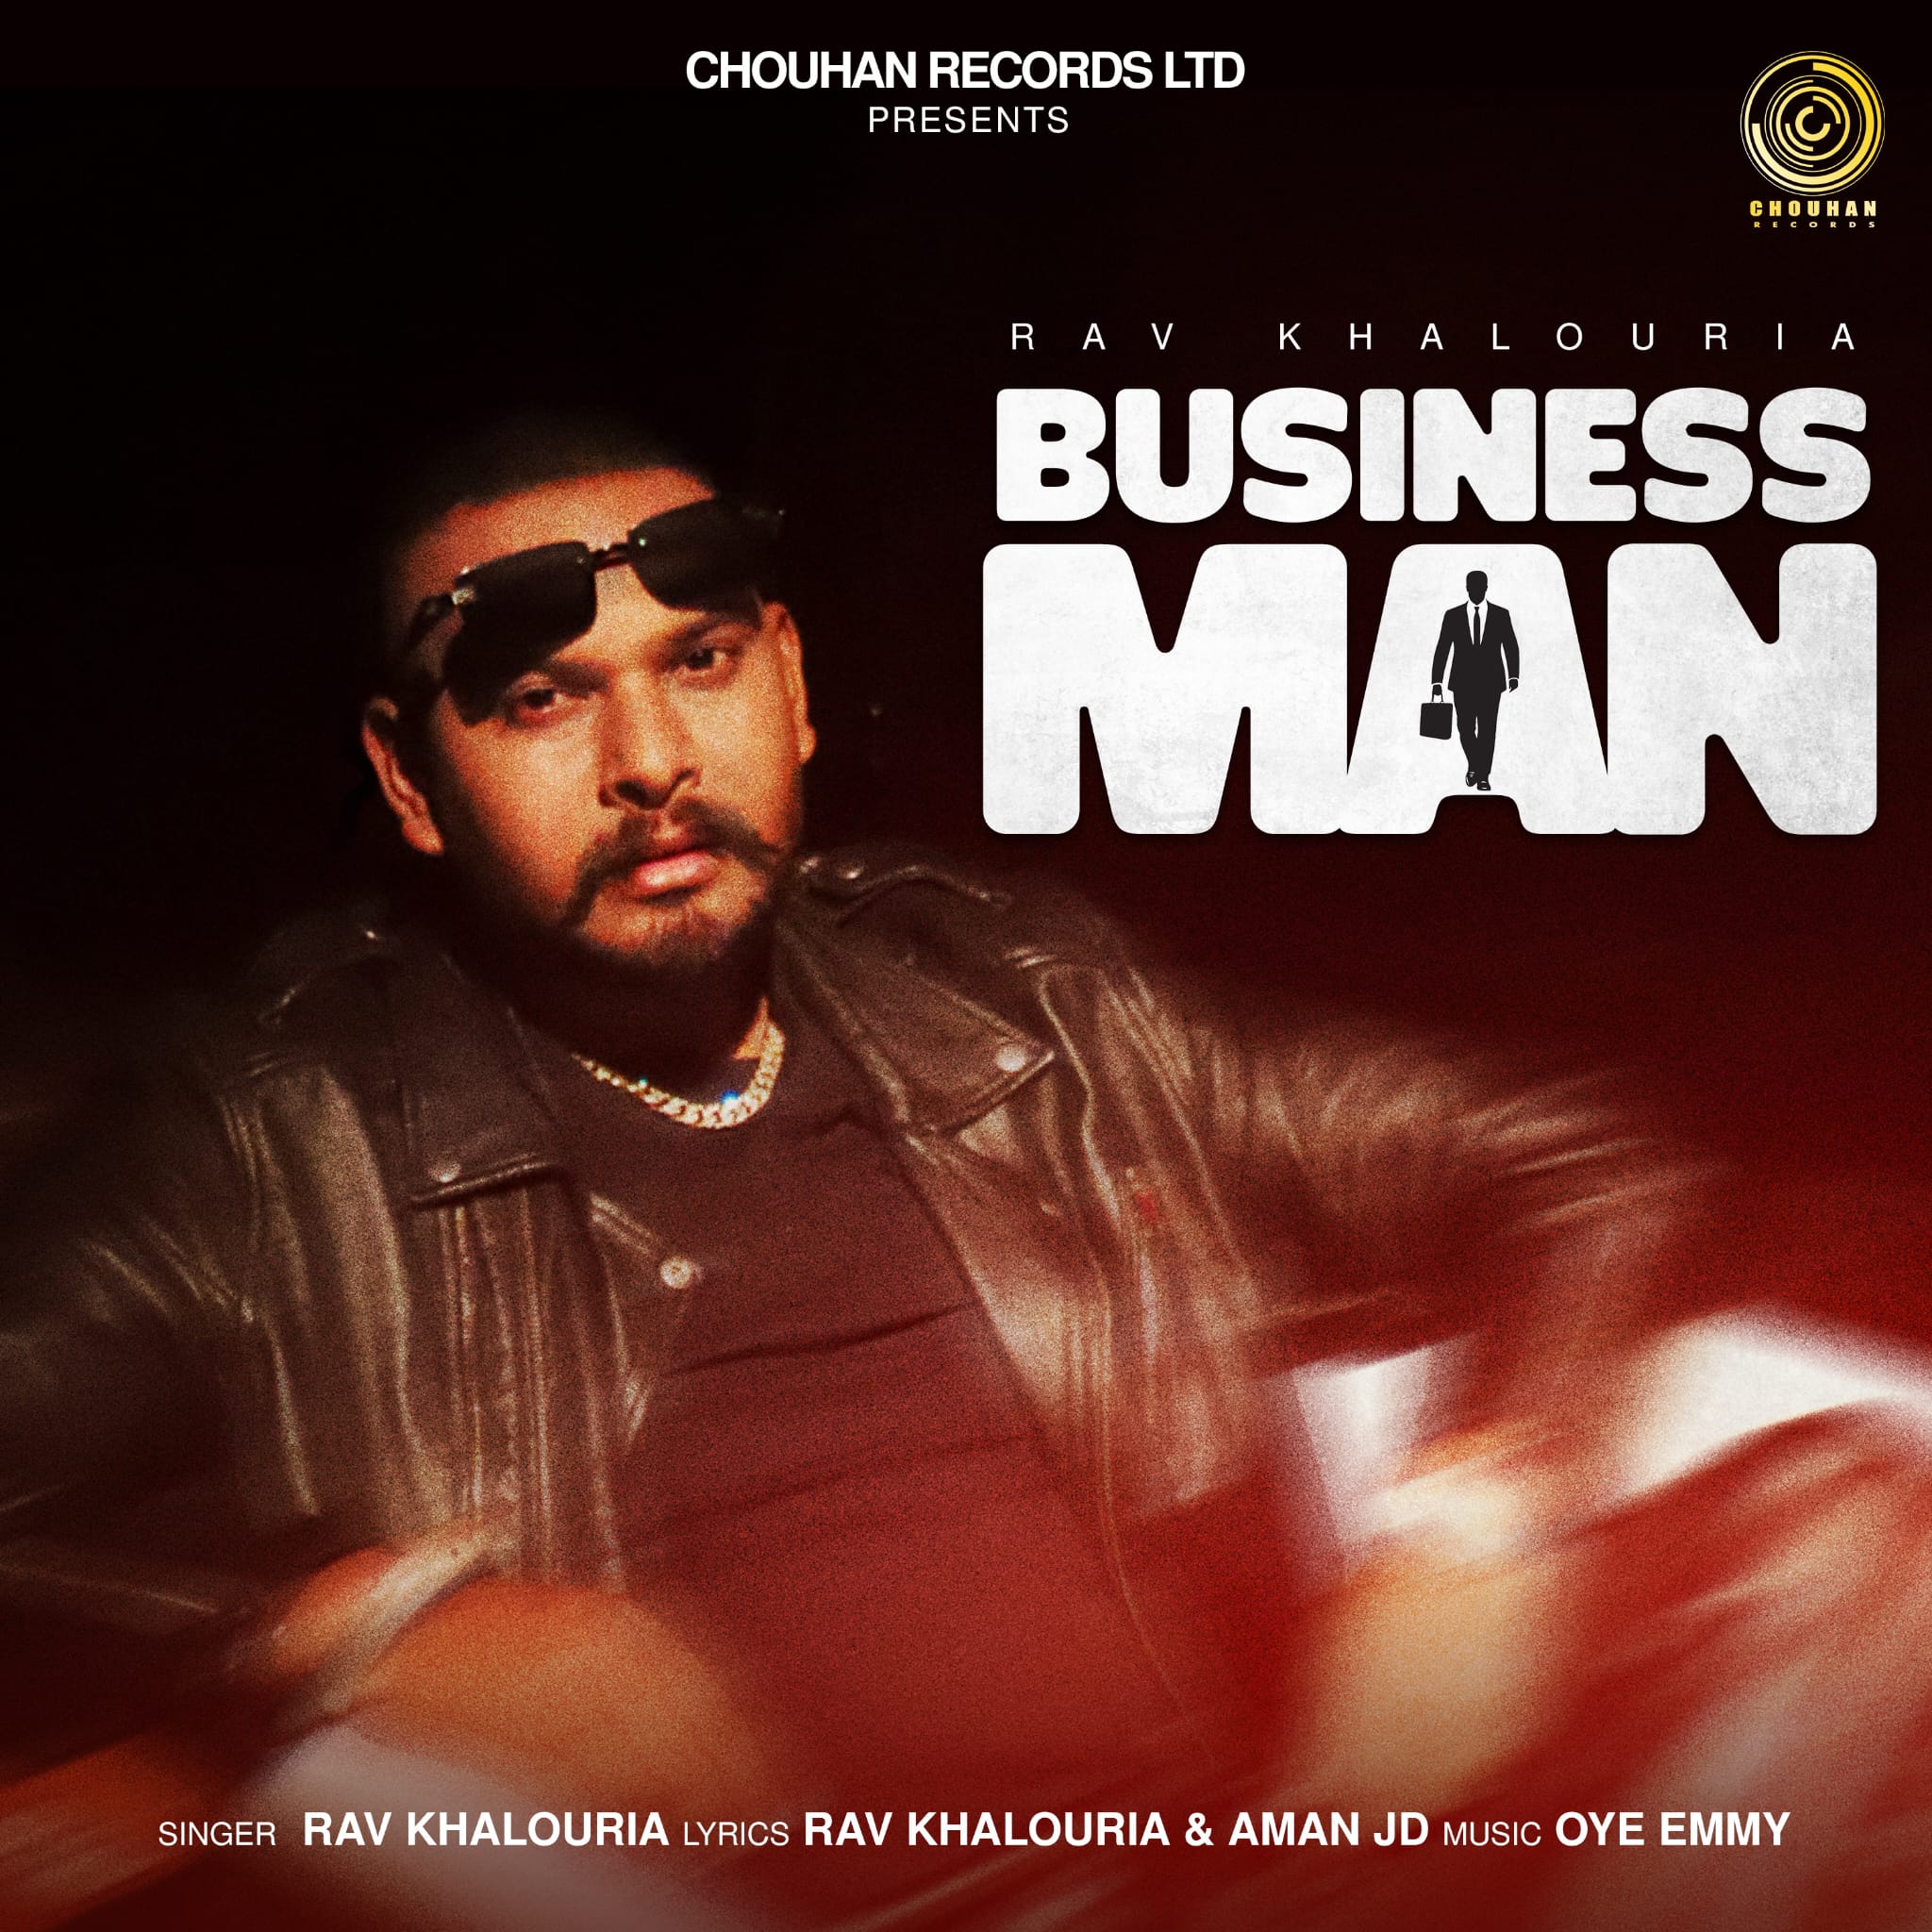
BUSINESS MAN | RAV KHALOURIA
Now Streaming
CASE | RAJAN SAHOTA | SXHKIL
Now Streaming
PYAR | PUNJABI SHORT FULL MOVIE
Now Streaming
HUSTLER | CHAHAL | ANKUSH BEATS
Previous
Next
🎥 Video Categories
Short Clip
Trailer
Religious
Shorts Music
×
Shorts Music
×
New Uploaded
BUSINESS MAN | RAV KHALOURIA
Watch now
CASE | RAJAN SAHOTA | SXHKIL
Watch now
PYAR | PUNJABI SHORT FULL MOVIE
Watch now
HUSTLER | CHAHAL | ANKUSH BEATS
Watch now
ghghg
Watch now
I THINK | G BAJWA | DRAVID |
Watch now
KALA TIKKA | ZARAN LIKHARI
Watch now
Shorts
Videos
Home